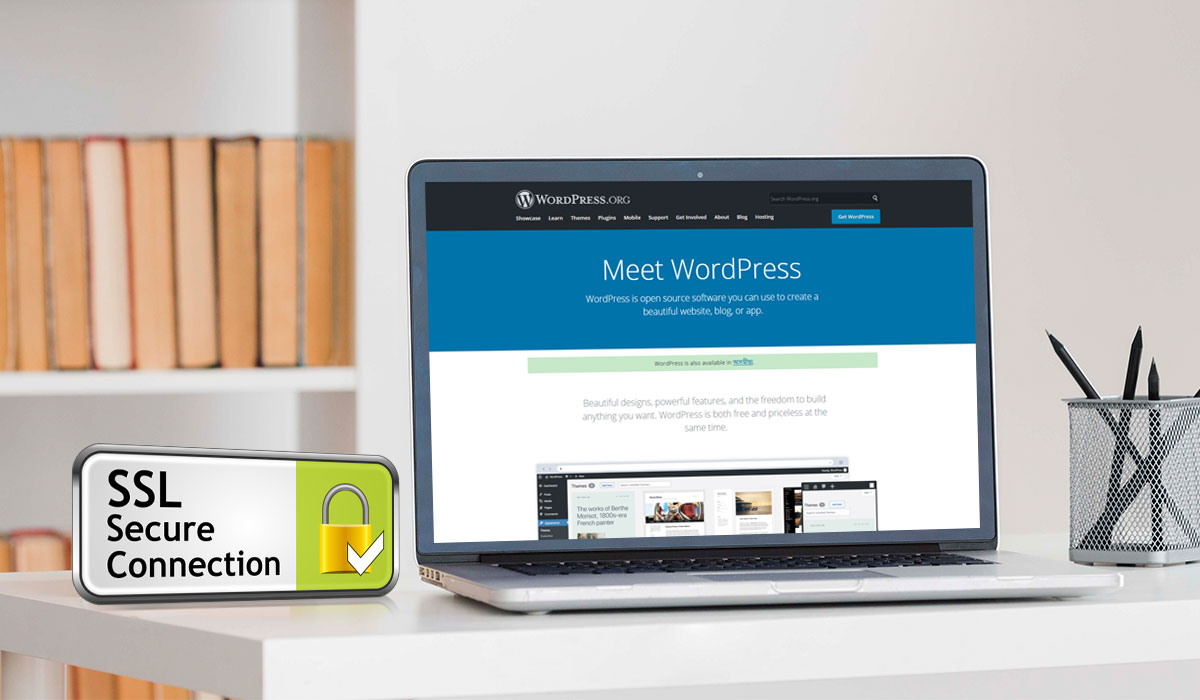
Before we look at how you can add SSL to your WordPress website, first let’s see what SSL is. It is a standard technology used for security purposes which creates an encrypted link between the server and client. SSL or Secure Sockets Layer is used to make your website more secure. This is essential as it helps build credibility for your brand and create a bond of trust between you and your customer and encourages potential customers to make purchases.
Once a user visits your website, they will see small signs, called EV indicators, such as a padlock or a branded URL bar, which tells them that your website is secure and has an SSL certificate. These certificates contain the identity and details of the owner in the form of a “subject.” SSL certificates operate by establishing an encryption connection, supported by two keys; the private and the public key. Together, these keys create an encrypted connection that keeps your site and its’ data secure from prying eyes. As mentioned above, these keys create a connection between the server and the client, this can either be your website and browser or mail server and mail client for e.g., Gmail, Yahoo, Outlook etc. If you want to add SSL to your WordPress website, then keep reading as we explore the how’s and why’s of adding SSL to your site.
WHY CHOOSE SSL
Adding any type of security layer to your website is essential as it helps in building trust and a sense of comfort for the client. Choosing SSL will remove any ounce of doubt that the customer has while entering confidential information, like social security or credit card numbers and login credentials, because SSL ensures safe transmission of this data from the client to the server. Without SSL, your data would be transmitted in the form of plain text, however, due to the special encryption technology used in SSL, your data remains safe even if anyone hacks into the system. This is because even if the attacker gets their hands on the data, they will still be unable to decipher the encrypted data. Another very essential feature of SSL is its compatibility with any and all secured web servers.
HOW TO ADD SSL
Now let’s cut to the chase and see how you can add SSL to your WordPress website. The very first thing you need to do is check if you already have an SSL certificate or not, if you don’t then you can always purchase it. Purchasing an SSL certificate can be very expensive, but thankfully there are cheaper alternatives. You can buy these certificates for free from WordPress hosting companies like Bluehost, Dreamhost, WPEngine, Liquid Web, GreenGeeks etc.
After successfully purchasing the certificate, you will require the assistance of your hosting provider in setting up and installing the SSL certificate on your website. After installing this, the SSL certificate will become a part of your domain name and then your website will have to be altered in order to work with the SSL and HTTPS protocol that has been added to your site. There are multiple ways of setting up the SSL and HTTPS protocol to your WordPress website. Let’s look at two such methods.
1. USING A PLUGIN
Using a plugin is a much easier and convenient tool, specially if you’re new in the game or aren’t tech savvy. You will have to install a WordPress plugin on your site using the WordPress plugin search. These plugins act as apps. Upon installing the plugin, you will then proceed to activate it. Your next step would be to navigate the site and open the settings, after which you will select the SSL option.
Once you have selected the SSL option, you can then sit back and let the plugin take care of everything. Your SSL certificate will be detected by your plugin and your site will then be capable of using HTTPs. The plugin detects and fixes content errors, checks your certificate, sets WordPress to use HTTPs in your site’s URL and fixes any other remaining errors.
One thing to always remember is that you should not deactivate your plugin, even if your screen shows a message that it is safe to deactivate the plugin. This will prevent you from fixing errors on your own in the future.
2. MANUALLY SETTING UP SSL/HTTPS IN WORDPRESS
If setting up SSL via a plugin doesn’t seem viable, then you can always do it manually. This can be a tedious task because it requires you to troubleshoot and fix issues on your own. You will also have to edit WordPress files on your own. Even though it is more time consuming, it comes with its own set of benefits. Setting up SSL manually is a better solution since it optimizes the performance of your page and presents itself as a more permanent solution.
If you want to opt for this but are hesitant about doing it by yourself, then you can hire a WordPress developer. They will edit your theme and code files for you. This can be done by visiting settings and selecting the “General” option. After this, you will edit your address and URL by replacing http with https. After saving these changes, you will be required to login again. Then you will be asked to add the relevant code to your .htaccess file. Your site is now set up, but you will see some mixed content errors, which can be resolved by replacing all remaining http URLs with https and voila, you’re good to go!
CONCLUSION
Notifying you search engines is the last set step. Having an SSL certificate for your site is now a must since as of 2018, google has started marking all websites, that are not SSL encrypted, as unsecure thus lowering credibility for such site owners. We hope this article proved to be an efficient guide on how to add SSL to your WordPress site.


Leave a Comment